Lomi guide Codex CLI
Use Codex CLI in Lomi
Run Codex CLI alongside your project, local app preview and Git changes.
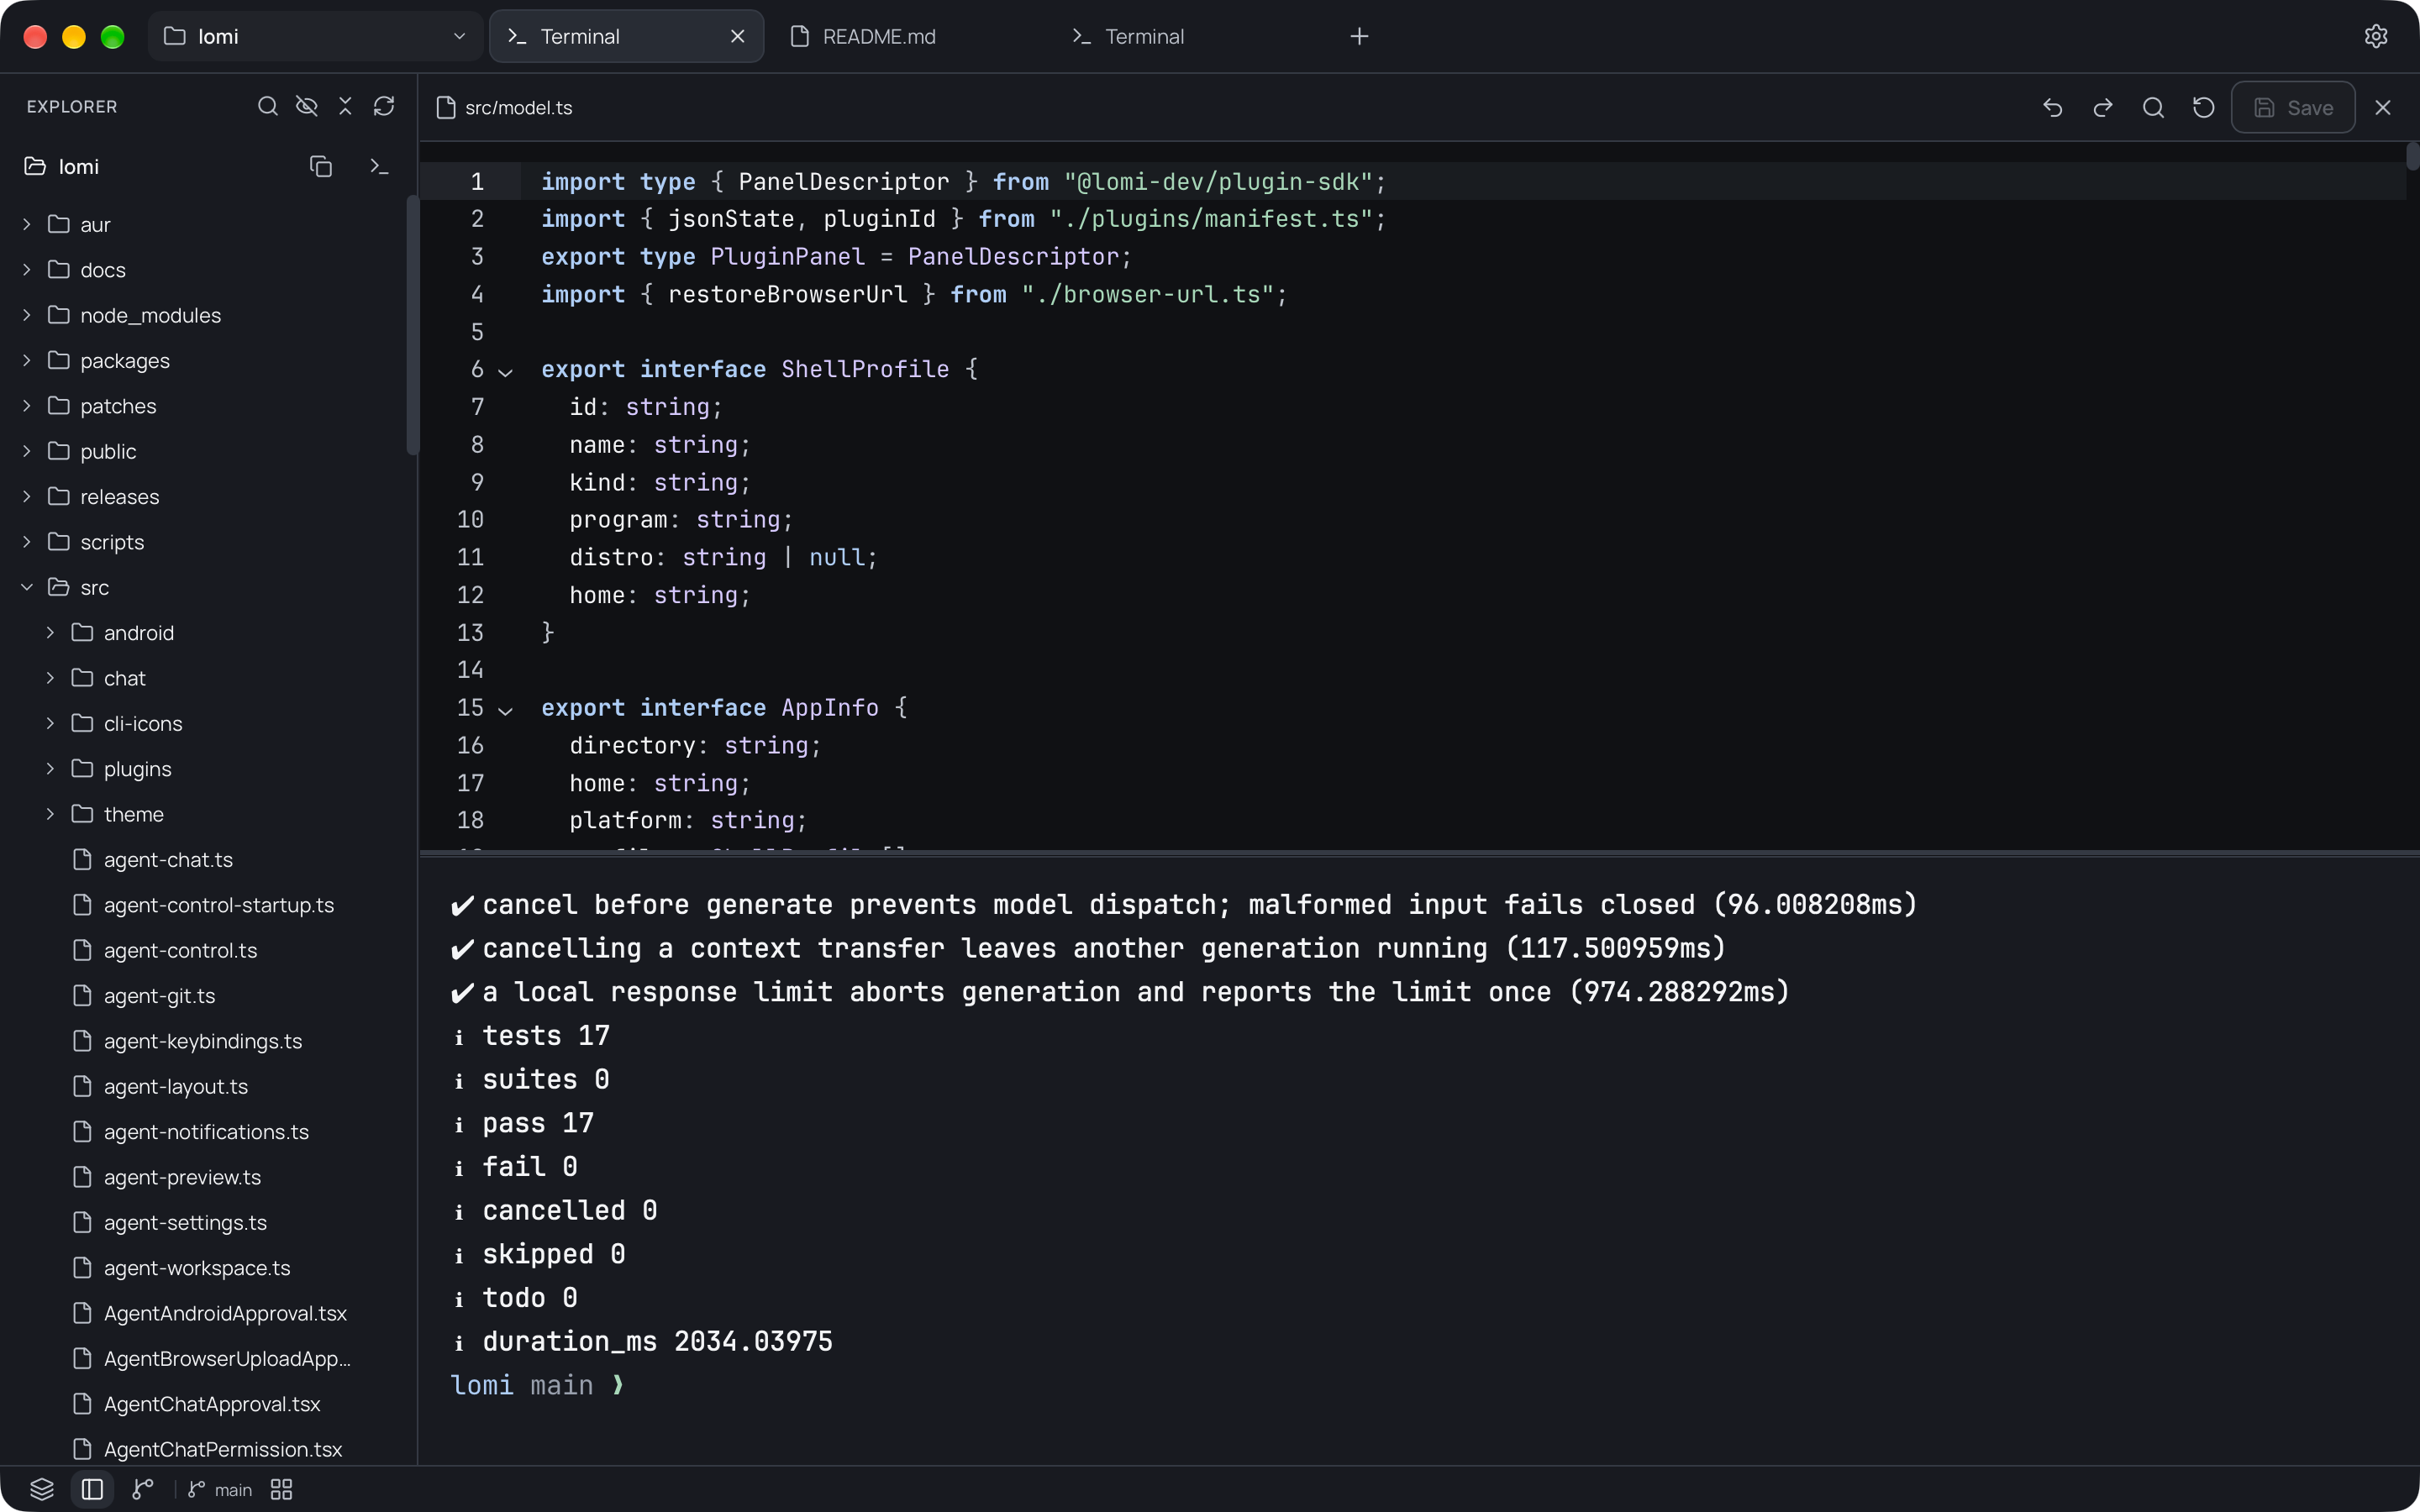
Before you start
Set up Codex CLI separately, then open the project you want it to work on in Lomi.
- Install Lomi and open the local project you want Codex to inspect or change.
- Install Codex CLI and sign in using OpenAI’s setup guide. Lomi does not provide Codex access, an OpenAI account or API credentials.
- Make sure Codex is available in the local shell you plan to use. A Git repository gives you a checkpoint before work begins.
Use Codex CLI installation and quickstart for current installation, supported-shell and authentication details.
Launch Codex CLI in Lomi on macOS and Linux
On macOS and Linux, Agents looks for Codex in the local shell you selected, then opens it in a Lomi terminal at your project directory.
Open the project
Choose the project folder or repository in Lomi. The CLI terminal opens at that project directory.
Open Agents
Select the + menu, choose Agents, and let Lomi check the selected local shell for installed command-line tools.
Launch Codex
Select Codex and choose how many terminals to open. If you installed it after opening the dialog, select Refresh installed CLI.
Start with one clear task
Ask Codex to inspect the relevant code, make a small change, or help debug an issue. Review the diff before committing.
On Windows, start it from a terminal
On Windows, Lomi cannot detect or launch agent CLIs from Agents. Install Codex CLI using the vendor’s Windows or WSL instructions, then start it from a project terminal.
Open a terminal
In Lomi, select + and choose New terminal. Use a Windows shell or WSL only if the current Codex setup guide supports it.
Install and sign in
Follow OpenAI’s Windows instructions for your chosen shell. Lomi does not install Codex or sign in to your account.
Start the CLI
At the project prompt, enter the command shown below to open Codex in the Lomi terminal.
codexLomi’s Agents detection and one-click CLI launch are not available on Windows. Lomi’s managed native-agent runtime is not qualified for Windows or WSL, so use a regular terminal and follow OpenAI’s current platform guidance.
Follow Codex CLI installation and quickstart for the current platform requirements and setup path.
Keep the coding loop in one workspace
With the CLI running, use other Lomi panes to run and preview your project, then review the diff in Git:
Start from a checkpoint
Before a larger change, start from a Git checkpoint and ask Codex to explain the relevant files or outline a plan.
Run the app or checks
Use another Lomi terminal for the development server, tests or build command.
Check the result in a browser
Once the server prints its local address, select + → New browser and enter that localhost URL to inspect the running app.
Review and commit
Inspect the diff in Lomi’s Git view and run the project’s checks. Then stage the files you want to keep and commit them.
What this workflow includes
Lomi gives the CLI a local workspace with your project files, terminals and browser.
- Codex’s prompts and replies stay in its CLI. Lomi provides the project workspace around it; it is not a replacement chat frontend or a Codex IDE extension.
- Codex sign-in, account and plan eligibility, API access and usage costs are handled by OpenAI. Lomi does not include them.
- This setup runs Codex in a local terminal. It does not configure Codex Cloud, cloud delegation or unattended remote work. Codex’s own permissions still apply.
If Codex CLI does not start
Check the shell used by Agents
On macOS and Linux, open a regular terminal with the same local shell selected in Agents. Run
command -v codexto check that the shell can find the CLI. If it cannot, follow the vendor’s installation and shell-path instructions, then use Refresh installed CLI in Lomi.Confirm the project directory
Check the terminal’s working directory before asking the agent to edit files. Use
pwdon macOS and Linux orGet-Locationin PowerShell. If it is the wrong project, open the intended folder in Lomi and start a terminal there.Start your development server separately
An agent terminal does not automatically start your app. Run the project’s normal development command in another terminal, wait for its local URL, then open that address in Lomi’s browser. Use the actual port printed by the server.
For a two-agent workflow, see using Claude Code and Codex together, including when to keep edits in separate Git working trees.